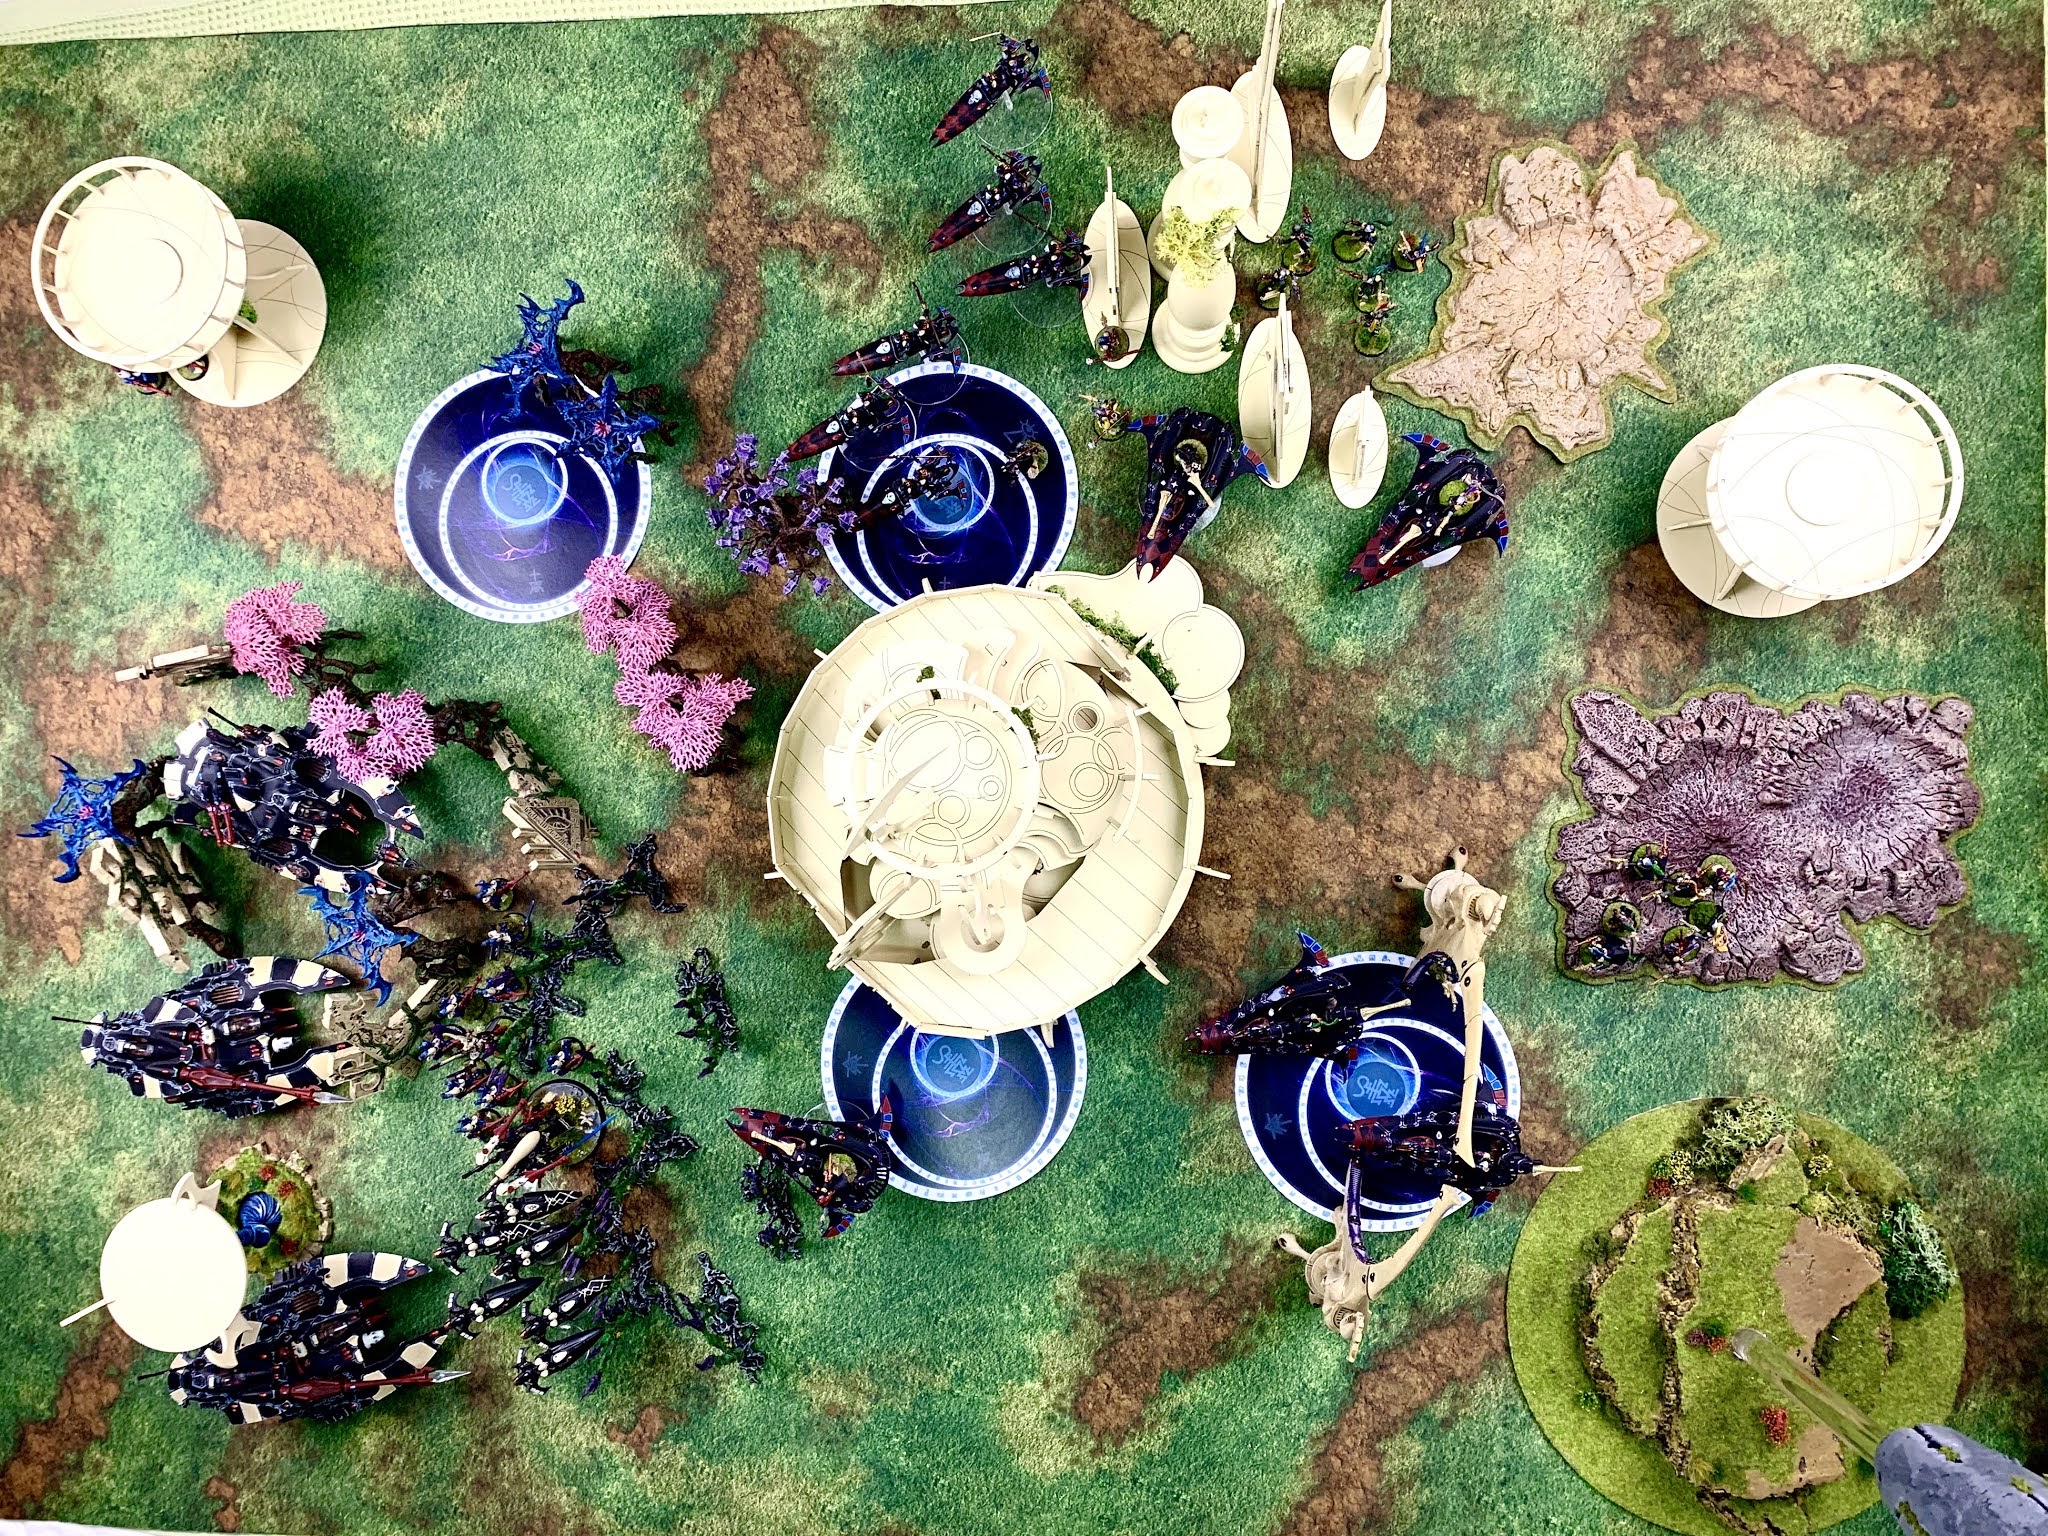
I had my first 9th edition game recently when a friend came by. To keep things as COVID19 friendly as possible it was all my models. I made both army lists and let my opponent choose which to play. My gut instinct was that the Craftworld list was really hard hitting and probably stronger than the Harlequin list, but my opponent had never tried Harlequins before and wanted to give them a shot. The table had a lot of -1 to hit coverage, and as that was mostly redundant for Harlequins he opted for the other side of the board. While it's hard to see the Craftworlders have a unit of Dire Avengers hidding behind the corner tower, and a unit of guardians and warp spiders waiting to deep strike. The Harlequins had an 11 trouper unit also in the web. Deployement:

The Harlequins won the first turn, and with the mission rewarding holding objectives they pushed forward really quickly to take as much ground as possible and the further back unit being given a bonus to their invul thanks to Prismatic Blur.
With units in place the psychic phase wasn't really momentous. Webway Dance failed, but one troupe was gifted a -1 to hit. Meanwhile the Shadowseer cast Twilight Pathways letting a Starweaver slingshot to a third objective and really put the screws to the forces of Ulthwe.

The two units of Skyweavers opened up with their Haywire cannons on the Wave Serpent, and despite a -1 to hit. Each unit got 13 shots and after they were done the Wave Serpent was diminished to a single wound. Unfortunately they were not the collective firepower of the Harlequins. The Skyweavers shuriken cannons took it down, killing one of the warlocks inside. Meanwhile the Prismatic Cannons of the Void Weavers crippled the Wraithlord taking it down to one wound. The Dire Avengers under the tower were reduced to a single model by the combination of Cegorach's Lament and Harvester of Torment. Despite the -1 to hit 9 shots tore through the unit in a savage display. The bikes were thinned out with the Neural Disruptors and the Humbling Cruelty Jester. By the time their combined work was done 5 bikes had been wiped away and the unit had a lone survivor. Without any assaults the morale phase wiped out the last of the Dire Avenger squad that had been savaged.

After suffering a devastating opening round of fire Ulthwe sought to take over the closest two objectives and hope to hold out long enough to last until their reinforcements arrived. Most of the positioning was in preparation to take things over in the next turn.
The Combined psyshics of the Warlock Conclave and Eldrad wiped out a unit of skyweavers and dropped the save on the Blurred unit of bikes back to a 4+ while bumping their own save to 3+.
The shooting phase was a bit of a bad turn for the Craftworlds which put a couple wounds on a Starweaver and the combined shooting of the Fire Prisms only managed to kill a single of the doomed bikes.
The phase I was most prepared to do some damage was assault. It got off to a good start when the Wraithlord got a 9" charge at almost point blank range However, the Autarch only managed a 2" charge, though he was fine with that. The real issue was when the Dire Avengers rolled a 3 on their charge, followed by a reroll to a 3. This meant they didn't get the distance they needed, even with their consolidation, to fully wrap the Starweaver. When it was eventually brought down the Harlequins and Troupe Master all bailed out with only a single trouper trapped in the wreckage.
The Harlequins got their reinforcements and moved for the cous de grace, surrounding the Warlocks and Eldrad, and preparing for the assault phase.
The psychic phase was a total bust with Eldrad and the Warlocks stopping every spell, noteable for the moment a Shadowseer cast Twilight Pathways on a 10, and Eldrad clutched it with a 12 to deny.
The shooting phase was much more suitable for the Harlequins, with the Harvester of Torment mercilessly wiping out a second unit of Dire Avengers, the bikes spiking a 12 in their random number of shots at a Prism and Void Weaver support assisting in taking the tank down. Meanwhile the Skyweaver full of Fusion guns finished off the heavily wounded Wraithlord. As the combined fire of three units of Harlequins took down a few more Warlocks the Troupe Master caught the Autarch with a Fusion gun, likely being saved by his force shield.
The Troupe Master charged into the Autarch while 2 units of Harlequin troupes and the last bikes all charged the Warlocks... and the Solitaire charged Eldrad directly. The large units that just ported in failed their charge, even with a reroll.
To start the phase the the Troupe Master dispatched the Autarch with complete efficiency using the Twilight Fang. Then the Warlocks interrupted combat with Supreme Disdain taking down a handful of Harlequins before they could unleash death. Unfortunately for the Warlocks they didn't take down enough of the nimble warriors.
The warlocks, even with using Lightning Fast Reflexes were cut down by the Harlequins, wiped out to a man, probably after they froze in shock when Eldrad was cut down by the Solitaire using Cegorach's Rose.
At this point, looking at a likely 80 pt deficit by turn 5, with only two very vulnerable models on the table, even the deep strikers would not swing the game beyond the total route it had devolved into.
One thing I learned in this game was that I need to review my terrain to have more central line of sight blocking terrain towards the centre of the board. But I also learned that Craftworlds are in a really really bad place at the start of 9th edition. They have arguably the worst troop options in the game compared to points, and suffer greatly in the need for durability.
Another lesson learned was that while choosing good secondaries for a force is helpful, but something you still actively need to account for, choosing the wrong secondaries pretty much wipes 45 points from your game to start. I need to reimagine what constitutes an "all comers" Craftworlds list, and what secondaries I can realistically pursue since many of them require sacrificing units for any purpose other than performing actions, and when your units get cut down quickly you can't often actively sacrifice performance for a turn.